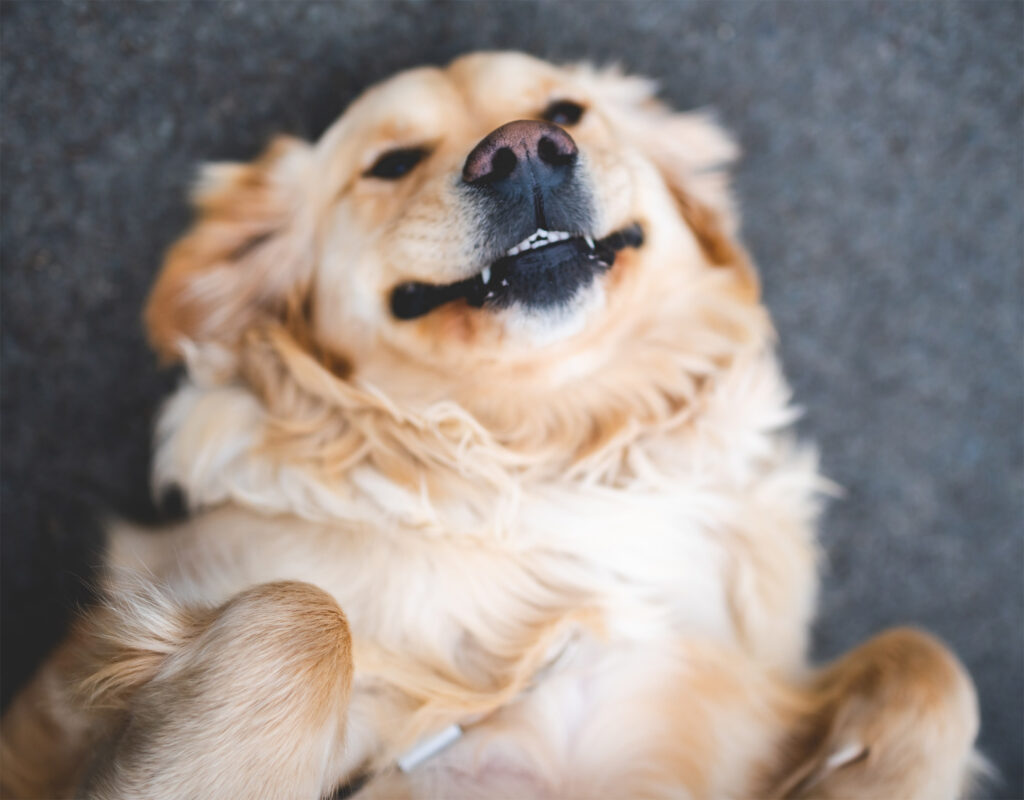
If your dog are anything like ours then grooming time is a ‘bring it on…more, more, more‘ event!
I only need to open the drawer with the brushes, combs and scissors in and they’re up and ready for it.
That impending intense one on one all over fussing has them bouncing around in delight.
For some grooming is obviously not like that or for whatever reason it’s easier for them and the dog to get a professional dog groomer doing it and that’s fine.
I’ve always seen grooming as the opportunity to deepen the bond between myself and the dog and reinforce the trust the dog places in me.
Grooming your dog is also a great way of getting to know your dogs lumps & bumps and allows you to detect any changes or issues that can be investigated and dealt with if required.
I can only really talk about grooming Golden Retrievers but you’ll find plenty of information online covering other breeds.
Some of the information around grooming is generic such as the equipment you will need whilst other information is breed specific and then you have the very targeted stuff regarding getting your dog ready for a show.
Tools Of The Trade –
- A good quality large slicker brush
- A good quality pin brush
- A steel comb
- An undercoat rake
- Good quality sharp scissors
- Good quality thinning shears
- Good quality nail clippers
- Coat spray
There will be a future post explaining these tools and their use.
The Golden Retrievers Coat –
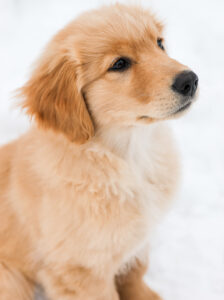
Golden Retrievers have double coats. By the time a Golden Retriever is about a year and a half old its coat will be fully matured.
The soft fluffy fur ball puppy coat has developed in to the dense, light coloured undercoat and the normally darker top coat has grown through to give the classic wavy coat Golden Retriever look.
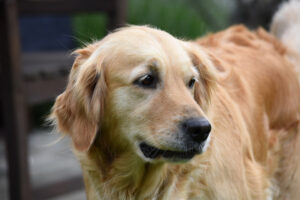
The dense top coat sometimes called the ‘guard hair’ is water repellent. It will often forms wispy feathers of fur on the backs of the front legs, underbelly and tail and denser areas around the thighs.
As anyone who has owned a Golden Retriever will know they are prolific shedders of fur! It’s a continuous process interspersed with extensive shedding events in the spring and autumn!
Brushing regularly will reduce the quantity of fur deposited on you, your furniture and flooring.
Golden Retriever Grooming –
An absolute No-No is shaving. You can potentially do irreparable damage to the undercoat to such an extent it may never properly grow back in. Also the double coat helps control the dogs temperature keeping it warm in cold weather and cool in the hot weather.
Grooming should be about –
- Brushing to remove the hair that is ready to drop, getting knots out and any other debris that has embedded itself in the dense coat such as grass seeds, bits of twig etc.
- Light cutting and thinning to give a natural but tidy look
- Trimming the hair around the pads and between the toes to give a nice clean look to the feet
- Tidying and shortening the tail
Brushing –
I tend to use both a slicker brush and a pin brush for general brushing all over and every now and again (but only if I have to because of really dense coat growth) an undercoat rake on the rear end area, neck and breast where the coat is very dense.
Before brushing you can if you wish use a dog grooming spray. These are designed to be anti-static and help detangle the hair. They also provide some conditioning and shine enhancement to the coat.
I start with the slicker brush working from back to front and top to bottom. Be gentle and if you encounter knots take your time to tease them out. If they are to difficult to get out I’ll use the thinning shears to take out the worst of it before going back to brushing.
Once I’ve been over with the slicker brush its time for the pin brush.
Don’t spend to long on anyone area as it can become uncomfortable for your dog. Better to go back to an area that needs more work a number of times with other areas being done in between.
Trimming the coat –
In general this is just tidying up the overly long fur and thinning where required such as neck, shoulders and rear end.
The thinning shears get more use than the scissors as they give a more natural finish without the straight lines or edges the scissors produce.
Take your time and try to achieve a balanced look on both sides and don’t take to much of in one go!
Tidying up the feet –
This (and the tail) can be the hardest to master. I remember my first attempts were not brilliant to say the least however with perseverance you soon get the hang of it.
Our dogs lie down for this bit. Not the ideal situation for me having to scrabble around in all sorts of positions to see if I’m getting the result I want but they prefer it so that’s what we do.
Start by trimming round the foot and up the back of the leg. Then using a brush or your fingers bring the fur up between the toes and trim it off level with the surrounding fur. I’m aiming for a distinct visible line between each toe when the foot is on the ground.
Once you’ve done the above then trim off the hair protruding beyond the pads.
Finally once our dogs back on its feet I’ll trim around anything I missed.
Tidying and shortening the tail –
If you haven’t already done it then give the tail a good brush to get rid of dead hair and debris also remove any knots.
For me the easiest way is to set the length I want first. Hold the tail near the end and with my thumb and forefinger encircling the tail slide along towards the end till I feel the end tail bone. I then move my thumb beyond the end of the bone. Cutting near to my thumb on the side furthest from the end of the tail bone I cut a small amount of hair of – just enough so that I can easily see the length I’m setting.
The next bit is about getting that classic fan shape.
Hold the tail out straight and from the base using your scissors cut the fan curve tapering it to the tip you set the length at.
Don’t cut the hanging length to short. I leave it about 1/2 inch longer than I want so that I can do a finishing cut.
For the finishing cut I use the thinning shears to take off some of the final 1/2 inch which gives the tail a softer look.
If you want to see a pretty good video about dog trimming (not me or our dogs) then take a look at this YouTube video – Pro Groomer – Golden Retriever Grooming Guide